AI Guided Setup
Starting from scratch and filling in every field by hand takes time. AI Guided Setup speeds that up — point it at your church's current website and it pulls your branding, colors, and content into your new FaithMade site automatically.
This is optional. You can always set things up by hand instead — see Setting Up Your Church Info and Site Settings.
Starting the Wizard
Click Onboarding Wizard in the top toolbar of your dashboard (visible on any wp-admin screen), or find it under Site → Onboarding Wizard.
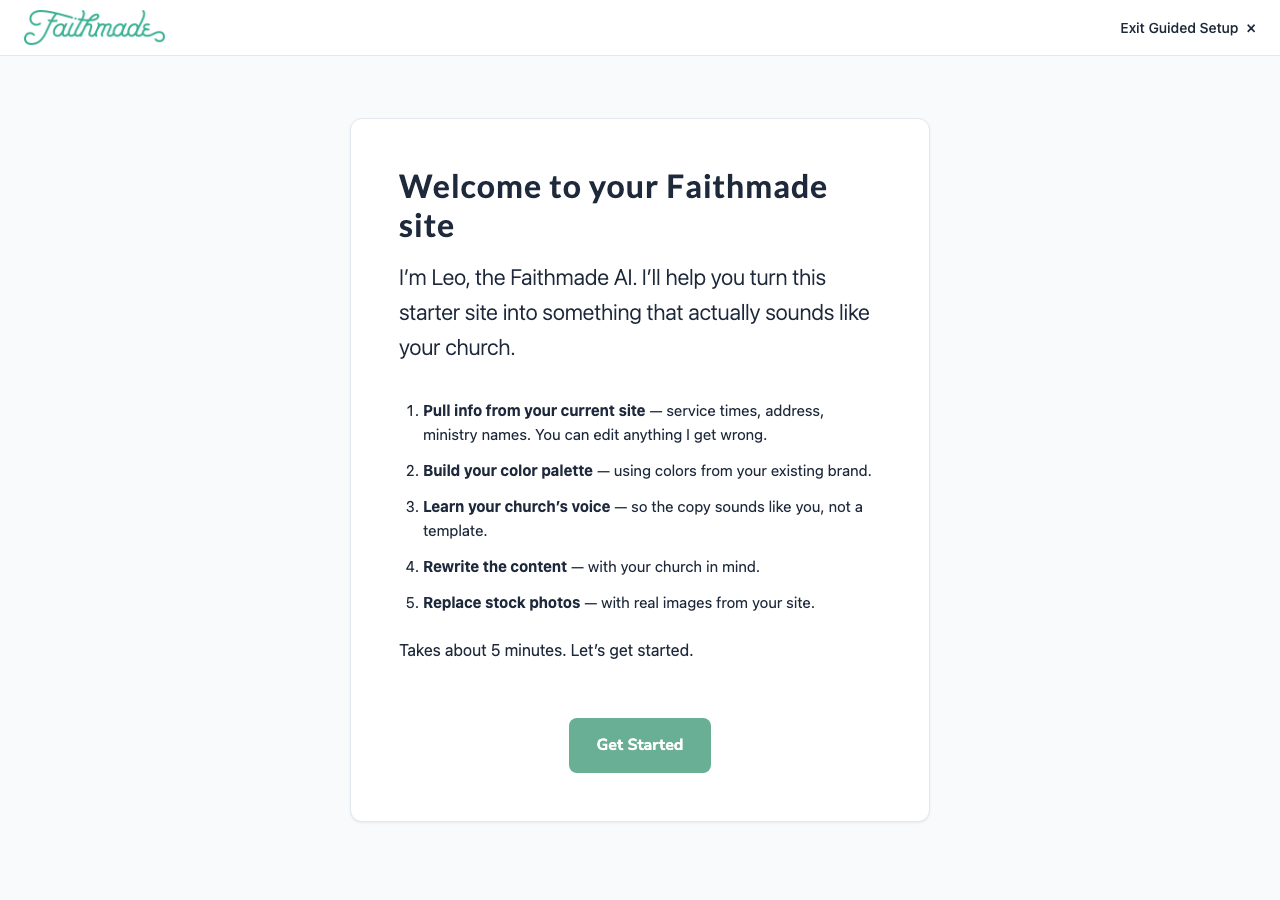
Leo — the FaithMade AI — walks you through five things:
- Pull info from your current site — service times, address, ministry names
- Build your color palette — using colors from your existing brand
- Learn your church's voice — so the copy sounds like you, not a template
- Rewrite the content — with your church in mind
- Replace stock photos — with real images from your site
The whole thing takes about 5 minutes. Click Get Started.
Step 1: Import Your Website
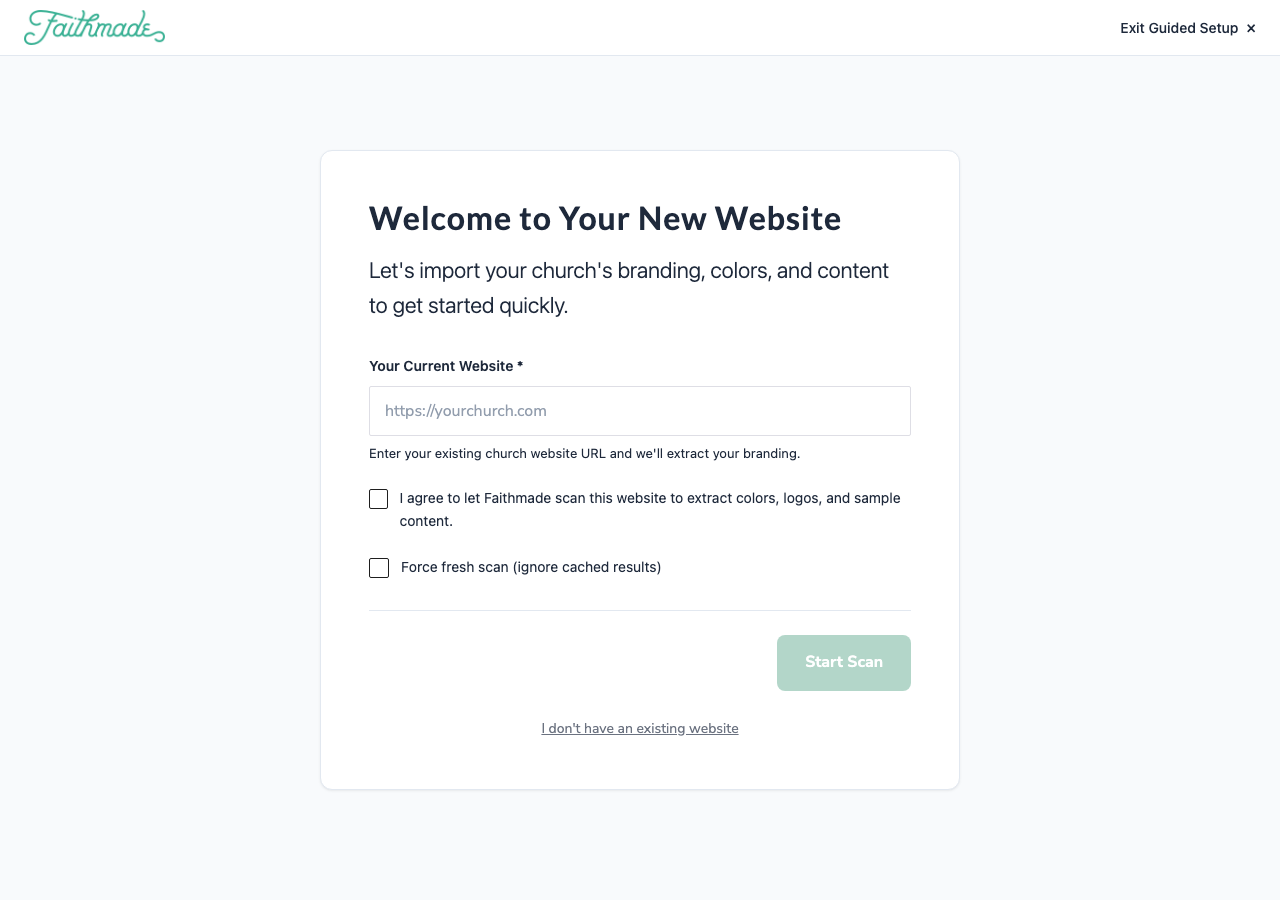
Enter your current church website URL, check the box to let FaithMade scan it for colors, logos, and sample content, and click Start Scan. Don't have an existing website? Click I don't have an existing website to skip straight to manual setup.
Only scan a website you have the right to use — your own church's current site. The scan pulls colors, images, and text from that page to build your new site's starting point.
The scan usually takes under a minute — it's fetching your homepage and pulling out branding, colors, ministry names, and contact info.
Step 2: Verify Church Information
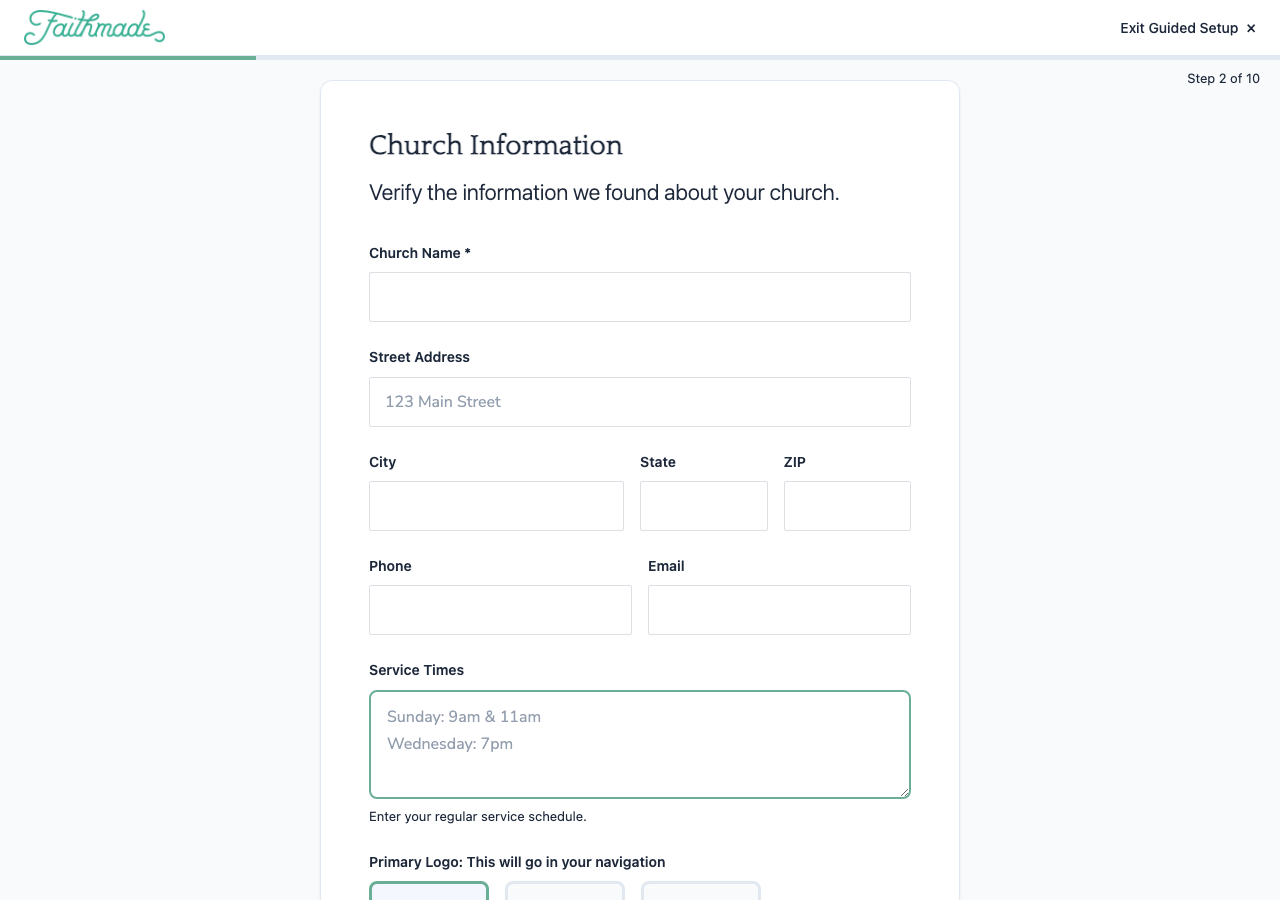
Whatever the scan found gets pre-filled here — church name, address, service times, logo. Review everything and correct anything it got wrong or missed. This becomes your site's Church Info, the same data used in Setting Up Your Church Info.
Steps 3–5: Social Links, Ministry Names, and Giving
The next few steps are quick verification screens, same pattern as Church Information:
- Social Links — YouTube, Facebook, Instagram, and TikTok URLs
- Ministry Names — what your church calls things: your term for sermons, kids ministry, student ministry, groups, volunteering, and membership classes
- Giving — your giving link or embed code, app store giving links, and text-to-give number, if you use one
Step 6: Brand Colors
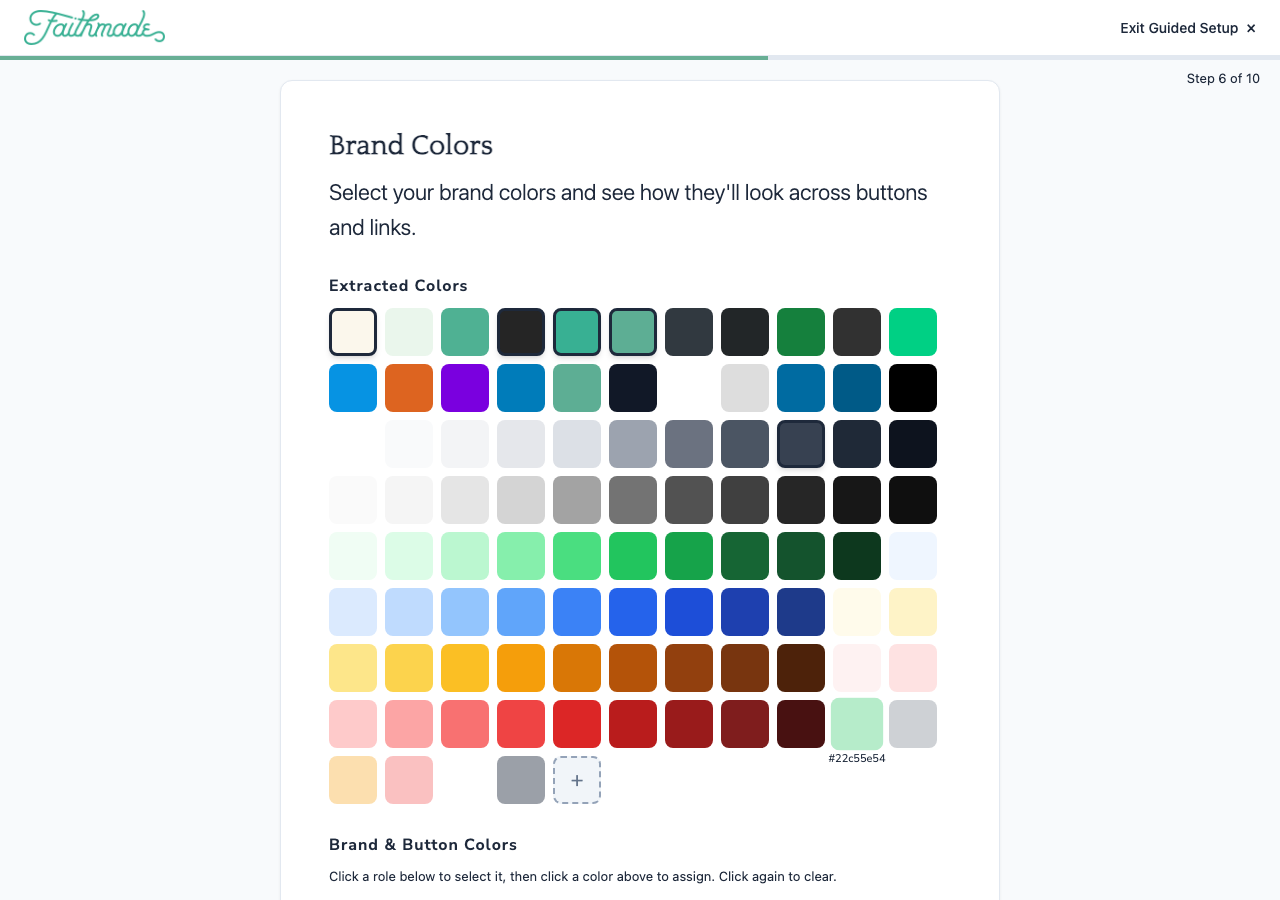
Every color Leo found on your current site shows up in the Extracted Colors grid. Click a role under Brand & Button Colors (like Accent or Dark), then click a color above to assign it — the preview updates so you can see how each color looks on buttons and links before committing.
Steps 7–9: Voice, Content, and Photos
- Tone & Audience — pick the tone that fits your church (warm, bold, traditional, etc.) and describe who you're speaking to. Leo uses this to write a sample of your homepage copy so you can see the voice before it rewrites your whole site.
- Copy Preview — review the AI-generated headline and homepage copy based on your tone and audience choices. Nothing publishes until you approve it.
- Import Images — swap the starter site's stock photos for real images pulled from your current website.
Final Step: Applying Your Changes
The last step applies everything you approved — colors, content, and images — to your new site. This is the only step that actually changes your live site; everything before it is just preview and review.
Not ready to commit? Click Exit Guided Setup in the top-right at any point before the final step — nothing is saved to your live site until you reach Applying.
Related: Setting Up Your Church Info · Site Settings: Branding & Design · Choosing & Understanding Your Starter Site